Page, Order, and Filter Custom Account Data
Lesson Objectives
By the end of this lesson, you will be able to:
- Page, order, and filter accounts
- Prefetch accounts without data
- Determine where in an account’s buffer layout specific data is stored
- Prefetch accounts with a subset of data that can be used to order accounts
- Fetch only accounts whose data matches specific criteria
- Fetch a subset of total accounts using getMultipleAccounts
TL;DR
- This lesson delves into some functionality of the RPC calls that we used in the deserializing account data lesson
- To save on compute time, you can fetch a large number of accounts without their data by filtering them to return just an array of public keys
- Once you have a filtered list of public keys, you can order them and fetch the account data they belong to
Overview
You may have noticed in the last lesson that while we could fetch and display a list of account data, we didn’t have any granular control over how many accounts to fetch or their order. In this lesson, we’ll learn about some configuration options for the getProgramAccounts function that will enable things like paging, ordering accounts, and filtering.
Use dataSlice to only fetch data you need
Imagine the Movie Review app we worked on in past lessons having four million movie reviews and that the average review is 500 bytes. That would make the total download for all review accounts over 2GB. Definitely not something you want to have your frontend download every time the page refreshes.
Fortunately, the getProgramAccounts function that you use to get all of the accounts takes a configuration object as argument. One of the configuration options is dataSlice which lets you provide two things:
- offset - the offset from the beginning of the data buffer to start the slice
- length - the number of bytes to return, starting from the provided offset
When you include a dataSlice in the configuration object, the function will only return the subset of the data buffer that you specified.
Paging Accounts
One area this becomes helpful is with paging. If you want to have a list that displays all accounts but there are so many accounts that you don’t want to pull all the data at once, you can fetch all of the accounts with no data. You can then map the result to a list of account keys whose data you can fetch only when needed.
1const accountsWithoutData = await connection.getProgramAccounts( 2 programId, 3 { 4 dataSlice: { offset: 0, length: 0 } 5 } 6) 7 8const accountKeys = accountsWithoutData.map(account => account.pubkey)
With this list of keys, you can then fetch account data in “pages” using the getMultipleAccountsInfo method:
1const paginatedKeys = accountKeys.slice(0, 10) 2const accountInfos = await connection.getMultipleAccountsInfo(paginatedKeys) 3const deserializedObjects = accountInfos.map((accountInfo) => { 4 // put logic to deserialize accountInfo.data here 5})
Ordering Accounts
The dataSlice option is also helpful when you need to order a list of accounts while paging. You still don’t want to fetch all the data at once, but you do need all of the keys and a way to order them up front. In this case, you need to understand the layout of the account data and configure the data slice to only be the data you need to use for ordering.
For example, you might have an account that stores contact information like so:
- initialized as a boolean
- phoneNumber as an unsigned, 64-bit integer
- firstName as a string
- secondName as a string
If you want to order all of the account keys alphabetically based on the user’s first name, you need to find out the offset where the name starts. The first field, initialized, takes the first byte, then phoneNumber takes another 8, so the firstName field starts at offset 1 + 8 = 9. However, dynamic data fields in borsh use the first 4 bytes to record the length of the data, so we can skip an additional 4 bytes, making the offset 13.
You then need to determine the length to make the data slice. Since the length is variable, we can’t know for sure before fetching the data. But you can choose a length that is large enough to cover most cases and short enough to not be too much of a burden to fetch. 15 bytes is plenty for most first names, but would result in a small enough download even with a million users.
Once you’ve fetched accounts with the given data slice, you can use the sort method to sort the array before mapping it to an array of public keys.
1const accounts = await connection.getProgramAccounts( 2 programId, 3 { 4 dataSlice: { offset: 13, length: 15 } 5 } 6) 7 8 accounts.sort( (a, b) => { 9 const lengthA = a.account.data.readUInt32LE(0) 10 const lengthB = b.account.data.readUInt32LE(0) 11 const dataA = a.account.data.slice(4, 4 + lengthA) 12 const dataB = b.account.data.slice(4, 4 + lengthB) 13 return dataA.compare(dataB) 14 }) 15 16const accountKeys = accounts.map(account => account.pubkey)
Note that in the snippet above we don’t compare the data as given. This is because for dynamically sized types like strings, Borsh places an unsigned, 32-bit integer at the start to indicate the length of the data representing that field. So to compare the first names directly, we need to get the length for each, then create a data slice with a 4 byte offset and the proper length.
Use filters to only retrieve specific accounts
Limiting the data received per account is great, but what if you only want to return accounts that match a specific criteria rather than all of them? That’s where the filters configuration option comes in. This option is an array that can have objects matching the following:
- memcmp - compares a provided series of bytes with program account data at a particular offset. Fields:
- offset - the number to offset into program account data before comparing data
- bytes - a base-58 encoded string representing the data to match; limited to less than 129 bytes
- dataSize - compares the program account data length with the provided data size
These let you filter based on matching data and/or total data size.
For example, you could search through a list of contacts by including a memcmp filter:
1async function fetchMatchingContactAccounts(connection: web3.Connection, search: string): Promise<(web3.AccountInfo<Buffer> | null)[]> { 2 const accounts = await connection.getProgramAccounts( 3 programId, 4 { 5 dataSlice: { offset: 0, length: 0 }, 6 filters: [ 7 { 8 memcmp: 9 { 10 offset: 13, 11 bytes: bs58.encode(Buffer.from(search)) 12 } 13 } 14 ] 15 } 16 ) 17}
Two things to note in the example above:
- We’re setting the offset to 13 because we determined previously that the offset for firstName in the data layout is 9 and we want to additionally skip the first 4 bytes indicating the length of the string.
- We’re using a third party library bs58 to perform base-58 encoding on the search term. You can install it using npm install bs58.
Demo
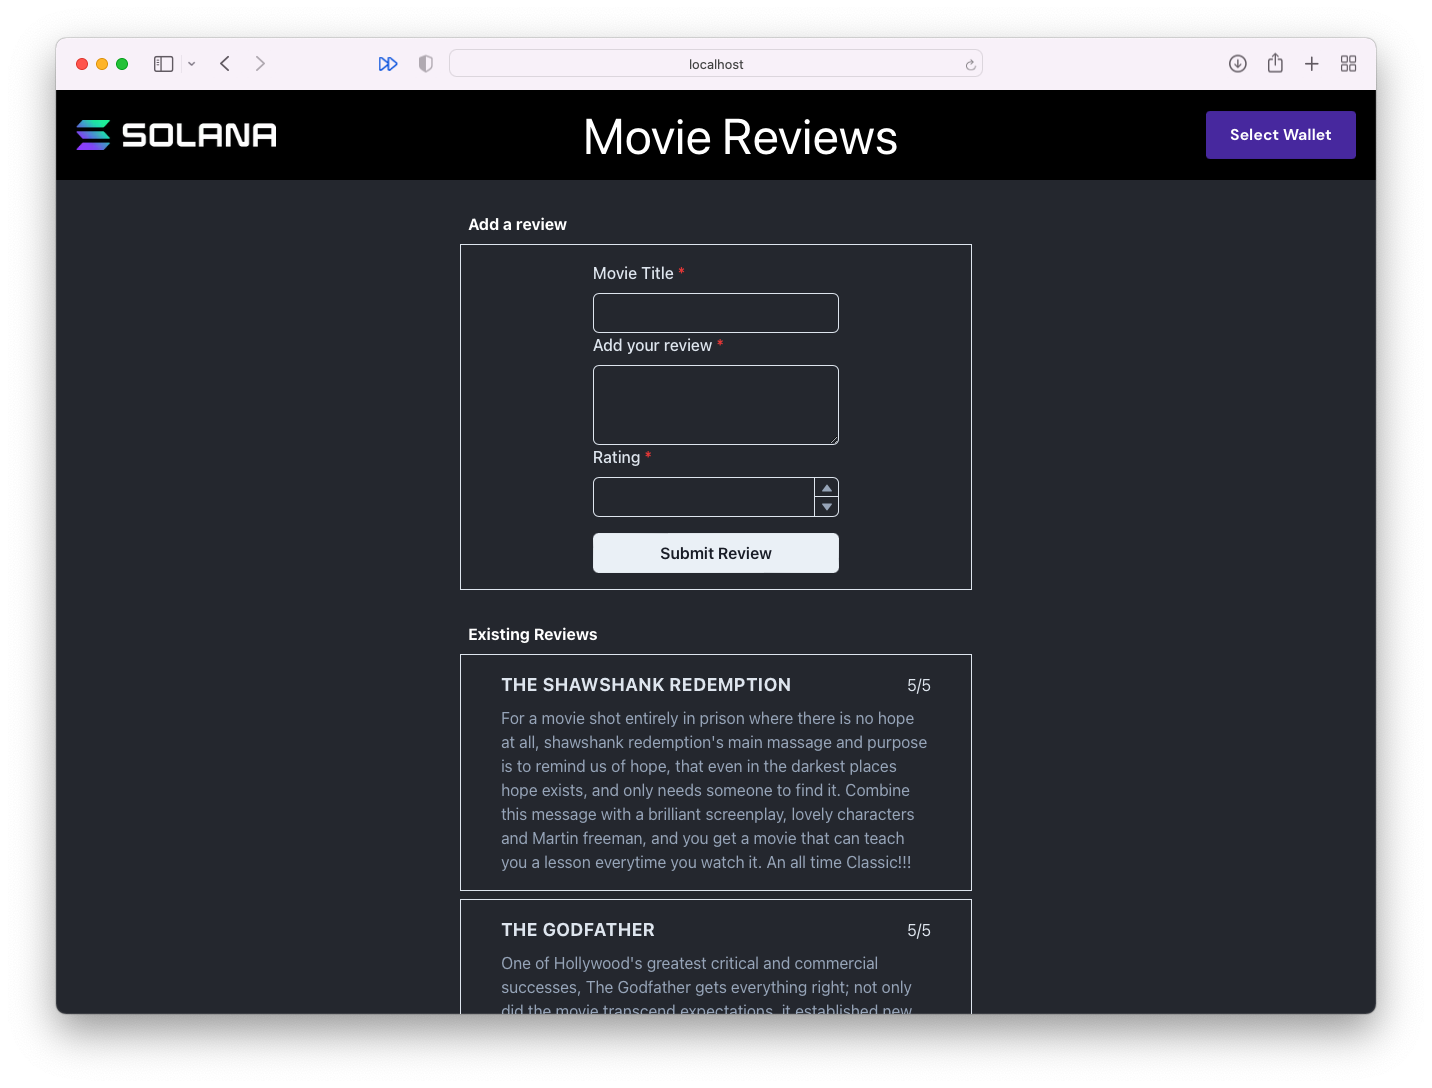
Remember that Movie Review app we worked on in the last two lessons? We’re going to spice it up a little by paging the review list, ordering the reviews so they aren’t so random, and adding some basic search functionality. No worries if you’re just jumping into this lesson without having looked at the previous ones - as long as you have the prerequisite knowledge, you should be able to follow the demo without having worked in this specific project yet.
1. Download the starter code
If you didn’t complete the demo from the last lesson or just want to make sure that you didn’t miss anything, you can download the starter code.
The project is a fairly simple Next.js application. It includes the WalletContextProvider we created in the Wallets lesson, a Card component for displaying a movie review, a MovieList component that displays reviews in a list, a Form component for submitting a new review, and a Movie.ts file that contains a class definition for a Movie object.
2. Add paging to the reviews
First things first, let’s create a space to encapsulate the code for fetching account data. Create a new file MovieCoordinator.ts and declare a MovieCoordinator class. Then let’s move the MOVIE_REVIEW_PROGRAM_ID constant from MovieList into this new file since we’ll be moving all references to it
1const MOVIE_REVIEW_PROGRAM_ID = 'CenYq6bDRB7p73EjsPEpiYN7uveyPUTdXkDkgUduboaN' 2 3export class MovieCoordinator { }
Now we can use MovieCoordinator to create a paging implementation. A quick note before we dive in: this will be as simple a paging implementation as possible so that we can focus on the complex part of interacting with Solana accounts. You can, and should, do better for a production application.
With that out of the way, let’s create a static property accounts of type web3.PublicKey[], a static function prefetchAccounts(connection: web3.Connection), and a static function fetchPage(connection: web3.Connection, page: number, perPage: number): Promise<Movie[]>. You’ll also need to import @solana/web3.js and Movie.
1import * as web3 from '@solana/web3.js' 2import { Movie } from '../models/Movie' 3 4const MOVIE_REVIEW_PROGRAM_ID = 'CenYq6bDRB7p73EjsPEpiYN7uveyPUTdXkDkgUduboaN' 5 6export class MovieCoordinator { 7 static accounts: web3.PublicKey[] = [] 8 9 static async prefetchAccounts(connection: web3.Connection) { 10 11 } 12 13 static async fetchPage(connection: web3.Connection, page: number, perPage: number): Promise<Movie[]> { 14 15 } 16}
The key to paging is to prefetch all the accounts without data. Let’s fill in the body of prefetchAccounts to do this and set the retrieved public keys to the static accounts property.
1static async prefetchAccounts(connection: web3.Connection) { 2 const accounts = await connection.getProgramAccounts( 3 new web3.PublicKey(MOVIE_REVIEW_PROGRAM_ID), 4 { 5 dataSlice: { offset: 0, length: 0 }, 6 } 7 ) 8 9 this.accounts = accounts.map(account => account.pubkey) 10}
Now, let’s fill in the fetchPage method. First, if the accounts haven’t been prefetched yet, we’ll need to do that. Then, we can get the account public keys that correspond to the requested page and call connection.getMultipleAccountsInfo. Finally, we deserialize the account data and return the corresponding Movie objects.
1static async fetchPage(connection: web3.Connection, page: number, perPage: number): Promise<Movie[]> { 2 if (this.accounts.length === 0) { 3 await this.prefetchAccounts(connection) 4 } 5 6 const paginatedPublicKeys = this.accounts.slice( 7 (page - 1) * perPage, 8 page * perPage, 9 ) 10 11 if (paginatedPublicKeys.length === 0) { 12 return [] 13 } 14 15 const accounts = await connection.getMultipleAccountsInfo(paginatedPublicKeys) 16 17 const movies = accounts.reduce((accum: Movie[], account) => { 18 const movie = Movie.deserialize(account?.data) 19 if (!movie) { 20 return accum 21 } 22 23 return [...accum, movie] 24 }, []) 25 26 return movies 27}
With that done, we can reconfigure MovieList to use these methods. In MovieList.tsx, add const [page, setPage] = useState(1) near the existing useState calls. Then, update useEffect to call MovieCoordinator.fetchPage instead of fetching the accounts inline.
1const connection = new web3.Connection(web3.clusterApiUrl('devnet')) 2const [movies, setMovies] = useState<Movie[]>([]) 3const [page, setPage] = useState(1) 4 5useEffect(() => { 6 MovieCoordinator.fetchPage( 7 connection, 8 page, 9 10 10 ).then(setMovies) 11}, [page, search])
Lastly, we need to add buttons to the bottom of the list for navigating to different pages:
1return ( 2 <div> 3 { 4 movies.map((movie, i) => <Card key={i} movie={movie} /> ) 5 } 6 <Center> 7 <HStack w='full' mt={2} mb={8} ml={4} mr={4}> 8 { 9 page > 1 && <Button onClick={() => setPage(page - 1)}>Previous</Button> 10 } 11 <Spacer /> 12 { 13 MovieCoordinator.accounts.length > page * 2 && 14 <Button onClick={() => setPage(page + 1)}>Next</Button> 15 } 16 </HStack> 17 </Center> 18 </div> 19)
At this point, you should be able to run the project and click between pages!
3. Order reviews alphabetically by title
If you look at the reviews, you might notice they aren’t in any specific order. We can fix this by adding back just enough data into our data slice to help us do some sorting. The various properties in the movie review data buffer are laid out as follows
- initialized - unsigned 8-bit integer; 1 byte
- rating - unsigned 8-bit integer; 1 byte
- title - string; unknown number of bytes
- description - string; unknown number of bytes
Based on this, the offset we need to provide to the data slice to access title is 2. The length, however, is indeterminate, so we can just provide what seems to be a reasonable length. I’ll stick with 18 as that will cover the length of most titles without fetching too much data every time.
Once we’ve modified the data slice in getProgramAccounts, we then need to actually sort the returned array. To do this, we need to compare the part of the data buffer that actually corresponds to title. The first 4 bytes of a dynamic field in Borsh are used to store the length of the field in bytes. So in any given buffer data that is sliced the way we discussed above, the string portion is data.slice(4, 4 + data[0]).
Now that we’ve thought through this, let’s modify the implementation of prefetchAccounts in MovieCoordinator:
1static async prefetchAccounts(connection: web3.Connection, filters: AccountFilter[]) { 2 const accounts = await connection.getProgramAccounts( 3 new web3.PublicKey(MOVIE_REVIEW_PROGRAM_ID), 4 { 5 dataSlice: { offset: 2, length: 18 }, 6 } 7 ) 8 9 accounts.sort( (a, b) => { 10 const lengthA = a.account.data.readUInt32LE(0) 11 const lengthB = b.account.data.readUInt32LE(0) 12 const dataA = a.account.data.slice(4, 4 + lengthA) 13 const dataB = b.account.data.slice(4, 4 + lengthB) 14 return dataA.compare(dataB) 15 }) 16 17 this.accounts = accounts.map(account => account.pubkey) 18}
And just like that, you should be able to run the app and see the list of movie reviews ordered alphabetically.
4. Add search
The last thing we’ll do to improve this app is to add some basic search capability. Let’s add a search parameter to prefetchAccounts and reconfigure the body of the function to use it.
We can use the filters property of the config parameter of getProgramAccounts to filter accounts by specific data. The offset to the title fields is 2, but the first 4 bytes are the length of the title so the actual offset to the string itself is 6. Remember that the bytes need to be base 58 encoded, so let’s install and import bs58.
1import bs58 from 'bs58' 2 3... 4 5static async prefetchAccounts(connection: web3.Connection, search: string) { 6 const accounts = await connection.getProgramAccounts( 7 new web3.PublicKey(MOVIE_REVIEW_PROGRAM_ID), 8 { 9 dataSlice: { offset: 2, length: 18 }, 10 filters: search === '' ? [] : [ 11 { 12 memcmp: 13 { 14 offset: 6, 15 bytes: bs58.encode(Buffer.from(search)) 16 } 17 } 18 ] 19 } 20 ) 21 22 accounts.sort( (a, b) => { 23 const lengthA = a.account.data.readUInt32LE(0) 24 const lengthB = b.account.data.readUInt32LE(0) 25 const dataA = a.account.data.slice(4, 4 + lengthA) 26 const dataB = b.account.data.slice(4, 4 + lengthB) 27 return dataA.compare(dataB) 28 }) 29 30 this.accounts = accounts.map(account => account.pubkey) 31}
Now, add a search parameter to fetchPage and update its call to prefetchAccounts to pass it along. We’ll also need to add a reload boolean parameter to fetchPage so that we can force a refresh of the account prefetching every time the search value changes.
1static async fetchPage(connection: web3.Connection, page: number, perPage: number, search: string, reload: boolean = false): Promise<Movie[]> { 2 if (this.accounts.length === 0 || reload) { 3 await this.prefetchAccounts(connection, search) 4 } 5 6 const paginatedPublicKeys = this.accounts.slice( 7 (page - 1) * perPage, 8 page * perPage, 9 ) 10 11 if (paginatedPublicKeys.length === 0) { 12 return [] 13 } 14 15 const accounts = await connection.getMultipleAccountsInfo(paginatedPublicKeys) 16 17 const movies = accounts.reduce((accum: Movie[], account) => { 18 const movie = Movie.deserialize(account?.data) 19 if (!movie) { 20 return accum 21 } 22 23 return [...accum, movie] 24 }, []) 25 26 return movies 27}
With that in place, let’s update the code in MovieList to call this properly.
First, add const [search, setSearch] = useState('') near the other useState calls. Then update the call to MovieCoordinator.fetchPage in the useEffect to pass the search parameter and to reload when search !== ''.
1const connection = new web3.Connection(web3.clusterApiUrl('devnet')) 2const [movies, setMovies] = useState<Movie[]>([]) 3const [page, setPage] = useState(1) 4const [search, setSearch] = useState('') 5 6useEffect(() => { 7 MovieCoordinator.fetchPage( 8 connection, 9 page, 10 2, 11 search, 12 search !== '' 13 ).then(setMovies) 14}, [page, search])
Finally, add a search bar that will set the value of search:
1return ( 2 <div> 3 <Center> 4 <Input 5 id='search' 6 color='gray.400' 7 onChange={event => setSearch(event.currentTarget.value)} 8 placeholder='Search' 9 w='97%' 10 mt={2} 11 mb={2} 12 /> 13 </Center> 14 15... 16 17 </div> 18)
And that’s it! The app now has ordered reviews, paging, and search.
That was a lot to digest, but you made it through. If you need to spend some more time with the concepts, feel free to reread the sections that were most challenging for you and/or have a look at the solution code.
Challenge
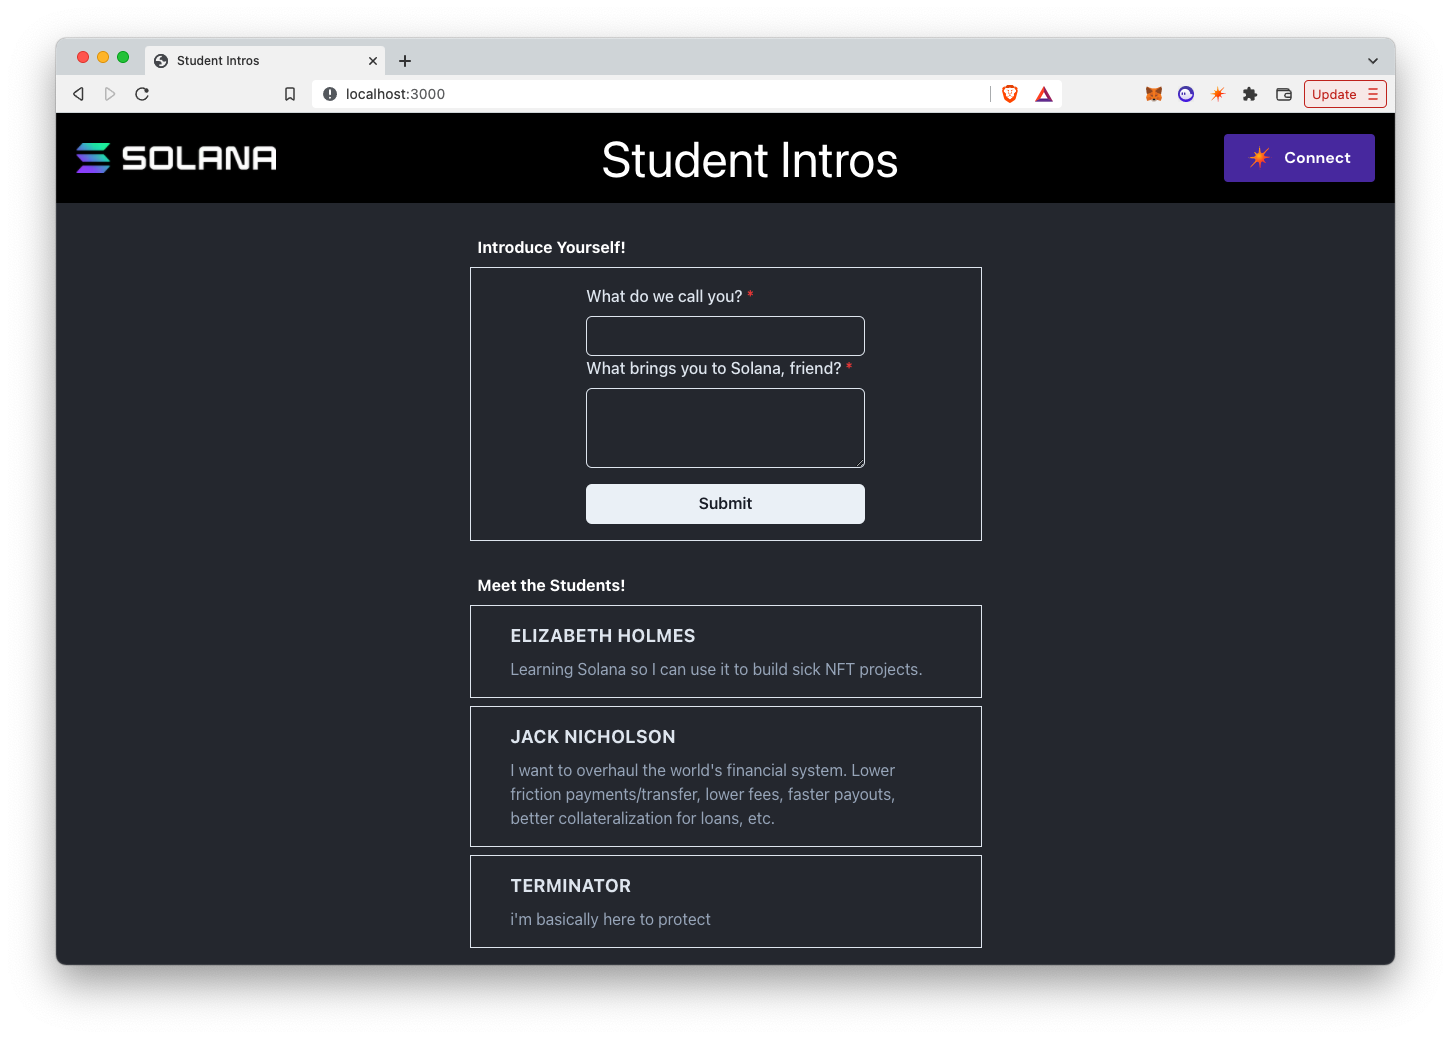
Now it’s your turn to try and do this on your own. Using the Student Intros app from last lesson, add paging, ordering alphabetically by name, and searching by name.
- You can build this from scratch or you can download the starter code
- Add paging to the project by prefetching accounts without data, then only fetching the account data for each account when it’s needed.
- Order the accounts displayed in the app alphabetically by name.
- Add the ability to search through introductions by a student’s name.
This is challenging. If you get stuck, feel free to reference the solution code. With this you complete Module 1! How was your experience? Feel free to share some quick feedback here, so that we can continue to improve the course!
As always, get creative with these challenges and take them beyond the instructions if you want!